Gear Cutting Blade Gauging System (Accuracy better than ± .0001-inches)
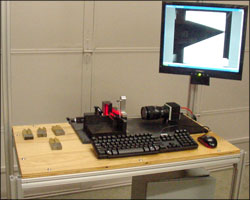
Proper meshing of pinions and gears is essential to a long lasting, smooth operating transaxle. As such, gear and pinions must be manufactured to high accuracy imposing tight tolerances on the cutting equipment. Decision Technology has developed an optical system to measure gear cutting blades for a major manufacturer of large transaxle assemblies.

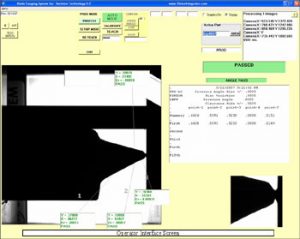
The gauging system was developed to measure key points along both the pressure and clearance edges of the gear cutting blade. Transverse offsets from these key edge points are feed back to a grinding machine which performs sharpening and re-profiling of the cutting blade. The system uses an ultra-high resolution camera (2K by 2K) operating over a 1.7-inch field of view. Measurement results accurate to better than ± .0001 inches, are achieved using smart sub-pixel measurement techniques in conjunction with appropriate data averaging. The optical measurement system features a 5 second setup time (manual blade load) and 7-10 second measurement time.

This system was custom designed to emulate the output of a particular contact measurement system. Its primary purpose is to measure each blade within a blade set in order to minimize profile variation. This ensures that all blades are the same shape and size (tolerance) prior to being assembled in the cutting head.

