Tapered Hole Measurement
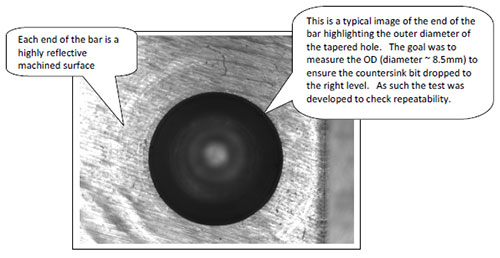
It's a fact that measurements cannot be trusted if there is no repeatability behind them. This study was performed for a customer in regard to diameter measurement of a tapered hole. This is a round bar approximately 30 mm in diameter which has a tapered hole bored into each end. We had to call on our many years of expertise in regard to developing a lighting strategy due to the shiny nature of the machined ends and taped sidewalls of the hole.
For this testing we selected a Datalogic/PPT M180 (1628x1236 resolution) camera and M40 processor. This is considered a mid range resolution imaging chip as there are much higher camera resolutions now available.

As mentioned the customer's primary concern was measurement repeatability. A series of diameter measurements were taken over the course of a 5 hour period, approximately 15 minute intervals. Each time the bar was removed from the fixture and placed back in at a different rotational orientation. The following measurement repeatability statistics were reported in regard to the OD measurement:
| Peak deviation: | .61 pixels or .00648mm. (.00025″) |
|---|---|
| Stand deviation: | .176 pixels or .0018mm. (.00007″) |
In this case we did not calibrate the camera for absolute dimensioning as the main goal was to check measurement repeatability. An approximate pixel resolution was used in the pixel to measurement conversion. Given a known master part, the system pixel resolution could have easily been calibrated.
